
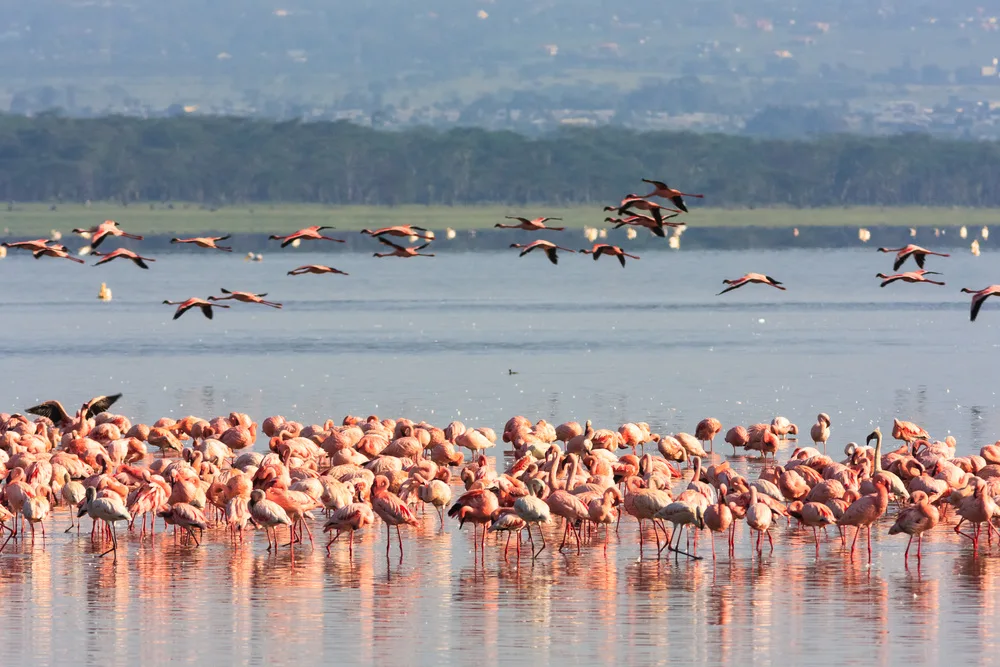
Wildlife Composition Tips for Safari Photography
Practical composition tips for safari wildlife photography: eye contact, giving space, the rule of thirds, clean backgrounds, environmental portraits, capturing behaviour and action, and using negative space.
Sharp focus and good light will only take a wildlife image so far; what separates a snapshot from a photograph you want to hang on the wall is composition. Composition is simply how you arrange the elements in the frame—where you place the animal, how much space you leave, what is behind it and what you choose to leave out. On safari, where you often cannot move and the action unfolds fast, thinking about composition in advance is what lets you react well when the moment comes. The good news is that a handful of simple principles cover most situations. Learn to find the eye, give your subject room to look and move, place it thoughtfully rather than dead-centre, watch your background as closely as your subject, and decide whether you are making a portrait, an environmental image or an action shot. This guide walks through those core ideas so that, whatever unfolds in front of your lens, you have the tools to turn a good sighting into a strong image.
Key things to know
- Composition is what turns a sharp snapshot into a photograph worth keeping
- Focus on the eye and keep it sharp; eye contact creates instant connection
- Give the animal space to look into or move into within the frame
- Use the rule of thirds to place your subject off-centre
- Watch the background as closely as the subject to keep it clean
- Environmental portraits show the animal within its landscape and tell a story
- Behaviour and action images beat static portraits for impact
- Negative space and simplicity often make the strongest images
The eye is everything
In almost every wildlife image, the eye is where the viewer looks first, so it must be sharp. If the eye is in focus you can often forgive softness elsewhere; if it is not, even a technically clean image will feel wrong. Set your focus point on the eye, or use eye-detection autofocus if your camera has it, and prioritise the near eye when the animal is at an angle.
Eye contact, where the animal looks straight down your lens, creates an immediate, powerful connection and a sense of presence. It is not the only option—an animal gazing out of frame can add mystery or direction—but a sharp, catchlit eye almost always anchors the picture. Watch for the tiny highlight, the catchlight, that a little sky or reflected light puts in the eye; it brings the subject alive, whereas a dark, lifeless eye can make even a good pose fall flat.
- Keep the eye pin-sharp above everything else
- Use eye-detection autofocus or place your point on the eye
- Focus on the near eye when the animal is angled
- Direct eye contact creates instant connection
- Look for a catchlight to bring the eye alive
Give your subject space
One of the commonest beginner mistakes is cramping the animal against the edge of the frame, especially in the direction it is looking or moving. As a rule, leave more space in front of the subject than behind it: room to look into, or room to move into. This 'looking room' or 'lead room' feels natural and balanced, whereas an animal jammed against the front edge feels tense and boxed in.
The same idea applies to animals in motion. A running cheetah or a bird in flight needs space ahead so the viewer's eye can travel with it and imagine where it is going. Resist the urge to zoom in as tight as possible on every subject; pulling back a little to include breathing room often produces a far stronger, more comfortable composition. You can always crop later, but you cannot add space you did not leave.
- Leave more space in front of the subject than behind
- Give looking room in the direction of the gaze
- Give lead room ahead of a moving animal
- Do not always zoom in as tight as possible
- Breathing room usually beats a cramped, tight crop
The rule of thirds and placement
The rule of thirds is the most useful compositional guide for beginners: imagine the frame divided into thirds by two horizontal and two vertical lines, and place your key elements along those lines or where they cross. Putting the animal, or its eye, on a third rather than dead-centre usually creates a more dynamic, balanced image, and most cameras can display a grid to help.
Placement also interacts with the horizon and the direction of light. Keep horizons level and off the centre line, placing them on the lower third for big skies or the upper third to emphasise the land. Think about where the animal sits relative to those lines and to its own looking direction, so the composition feels intentional. The rule of thirds is a guide, not a law—centred symmetry can be powerful too—but for most safari situations it is a reliable starting point.
- Divide the frame into thirds and place key elements on the lines
- Put the animal or its eye on a third, not dead-centre
- Turn on your camera's grid to help
- Keep horizons level and off the centre line
- Treat the rule as a guide, not an unbreakable law
Watch your background
Photographers obsess over the subject and forget the background, yet a cluttered or distracting background can ruin an otherwise perfect shot. Before you press the shutter, scan the whole frame: a bright branch, a distant vehicle, a blown-out patch of sky or a merging tree behind the animal's head can all pull the eye away from your subject. Often a small change of angle or position cleans things up dramatically.
A clean background is usually a smooth, uncluttered one, and a wide aperture that throws it out of focus helps separate the subject and make it pop. Watch too for mergers, where a branch or blade of grass appears to grow out of the animal, and for distracting bright edges. Shooting from a lower angle can put a busy background below the horizon and replace it with clean sky or blurred grass. Controlling the background is often the single biggest step up from snapshots to strong images.
- Scan the whole frame, not just the subject, before shooting
- A wide aperture blurs and separates the background
- Avoid mergers where branches seem to grow from the animal
- Watch for distracting bright edges and highlights
- A lower angle can swap clutter for clean sky or grass
Environmental portraits and behaviour
A tight portrait is not the only way to photograph an animal. An environmental portrait deliberately includes the landscape—the dunes, the plains, the storm sky—showing the animal small within its world and telling a richer story about where and how it lives. These wider images can be more evocative than any close-up, especially in dramatic settings, so do not feel you must always fill the frame.
Behaviour and action lift images further still. A yawn, a nuzzle, a hunt, birds squabbling, elephants dust-bathing—these moments carry far more impact than a static animal simply standing. Learn a little animal behaviour so you can anticipate the peak moment, keep shooting through a sequence rather than firing a single frame, and be ready for the split second that tells the story. A strong behavioural or environmental image will nearly always outlast a perfectly exposed but lifeless portrait.
- Environmental portraits show the animal within its landscape
- Wider scenes can be more evocative than close-ups
- Behaviour and action carry more impact than static poses
- Learn behaviour to anticipate the peak moment
- Shoot sequences rather than a single frame
Simplicity and negative space
Some of the most memorable wildlife images are also the simplest. Negative space—large, empty areas of sky, water or plain—can isolate a subject, convey scale and solitude, and give the eye room to rest. A single oryx on a vast dune, a lone bird against an open sky: by resisting the urge to include everything, you let one strong subject speak clearly.
Simplicity is a discipline. Ask what the picture is really about, then remove or minimise anything that does not serve it. Use plain backgrounds, restrained colour and clean lines, and be willing to place a small subject in a large empty frame if that serves the mood. Combined with the other principles—a sharp eye, thoughtful space, careful placement and a clean background—simplicity is often what turns a competent safari photograph into one people remember.
- Negative space isolates the subject and conveys scale
- Empty sky, water or plains give the eye room to rest
- Decide what the picture is about and remove the rest
- Use plain backgrounds, restrained colour and clean lines
- A small subject in a large frame can be very powerful
References & further reading
- Sinclair, A. R. E., et al. (Eds.) (2015). Serengeti IV. Chicago: University of Chicago Press.
- Estes, R. D. (2012). The Behavior Guide to African Mammals. Berkeley: University of California Press.
- Kingdon, J. (2015). The Kingdon Field Guide to African Mammals (2nd ed.). London: Bloomsbury.
- IUCN (2024). The IUCN Red List of Threatened Species, Version 2024-1. www.iucnredlist.org.
Do it with SafariLingo
Take SafariLingo on safari: 300+ species, real animal calls, offline maps and sighting logs — all in your language, wherever you roam.
Get the appFrequently asked questions
What is the single most important composition tip for wildlife?
Keep the eye sharp. In almost every wildlife image the viewer looks first at the eye, so it must be in focus, ideally with a catchlight to bring it alive. Direct eye contact creates an instant connection, and a sharp eye will anchor the picture even when other elements are less than perfect. Everything else in composition builds on that foundation.
What is the rule of thirds and should I always use it?
The rule of thirds means dividing the frame into thirds with two horizontal and two vertical lines and placing key elements along them or where they cross, rather than dead-centre. It usually creates a more balanced, dynamic image and is a reliable starting point, but it is a guide, not a law—centred, symmetrical compositions can be powerful too.
How do I get clean backgrounds on safari?
Scan the whole frame before shooting and watch for clutter, bright patches, distant vehicles and branches that seem to merge with the animal. A wide aperture blurs the background and separates the subject, while shooting from a lower angle can replace a busy background with clean sky or grass. Often a small change of position transforms the shot.
Should I zoom in tight or leave space around the animal?
Usually leave some space, especially in the direction the animal is looking or moving. This 'looking room' or 'lead room' feels natural and lets the eye travel with the subject, whereas cramming it against the edge feels tense. You can crop in later if you want a tighter image, but you cannot add space you did not capture, so err on the side of breathing room.
Are wide environmental shots better than close-up portraits?
Neither is better; they do different jobs. A tight portrait emphasises character and eye contact, while an environmental image shows the animal within its landscape and tells a richer story about where it lives. In dramatic settings a wider, simpler composition using negative space can be far more evocative, so it is worth shooting both when a sighting allows.
Related guides
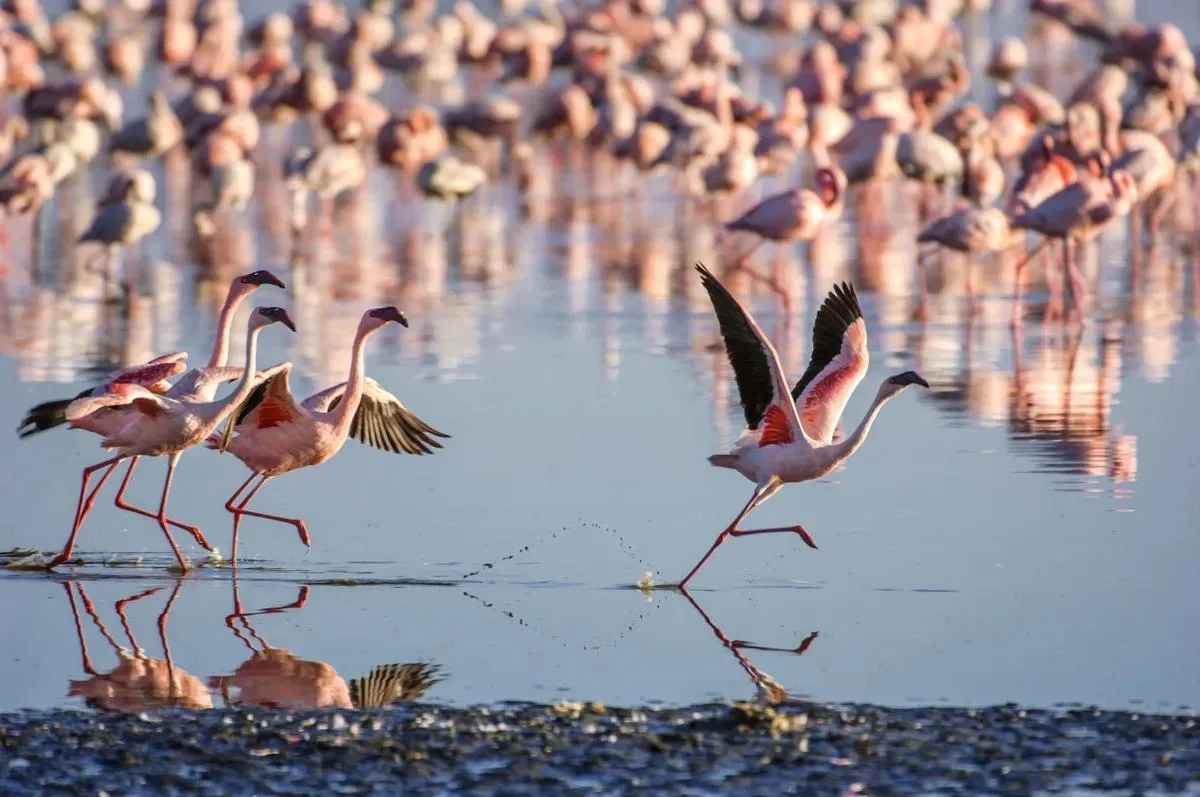 Wildlife
 How to Photograph the Great Migration
A field guide to photographing the Great Migration: capturing crossing chaos, dust and action, choosing wide versus tight framing, telling the story, the ethics of positioning, protecting your gear and the patience it demands.
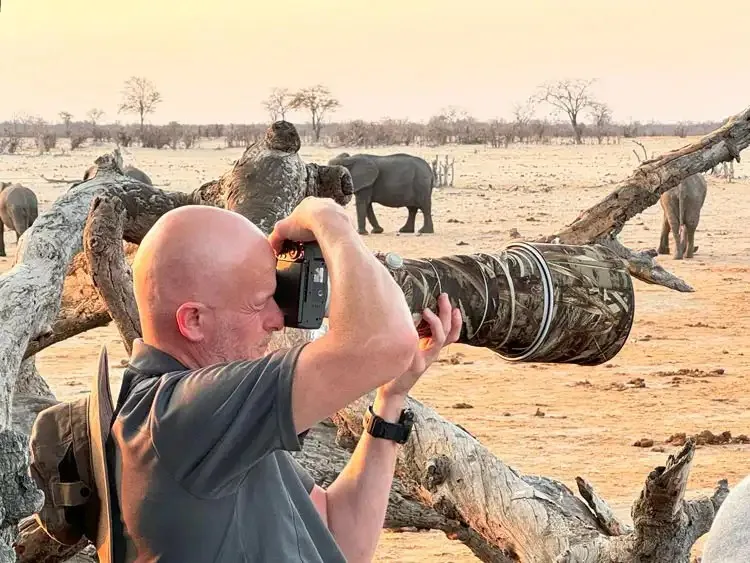 Wildlife
 Common Safari Photography Mistakes to Avoid
The pitfalls that ruin safari photos and how to fix them: shutter speed, cluttered backgrounds, over-zooming, chasing the trophy shot, chimping, and running out of card and battery.
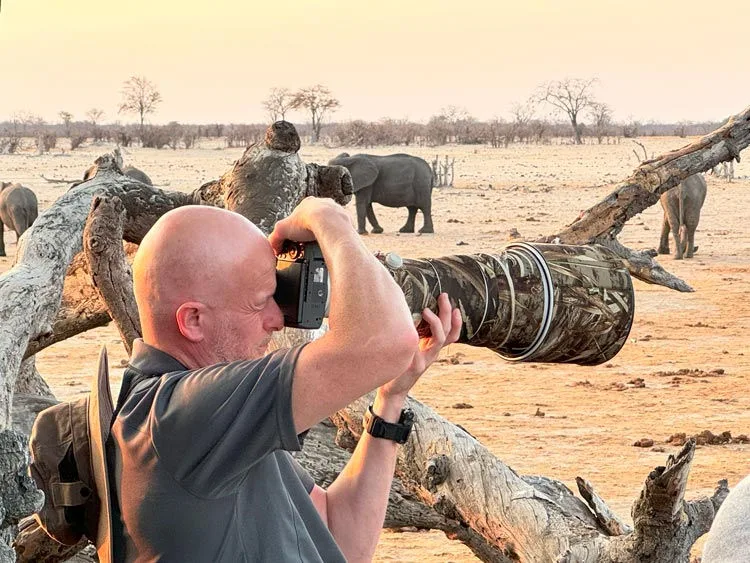 Wildlife
 Smartphone Safari Photography Tips
How to bring home beautiful safari photos with just your phone: digiscoping through binoculars, wide landscapes, video, avoiding digital zoom, steadying your shot and realistic expectations.