
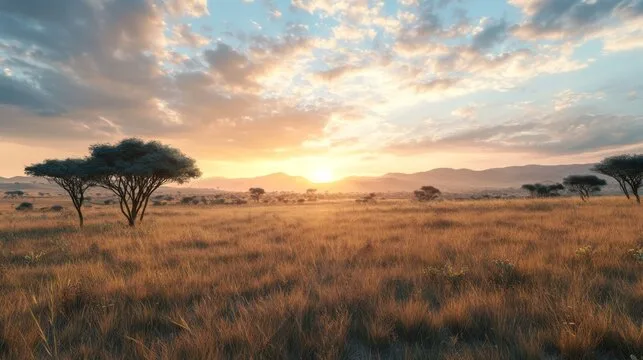
How to Photograph Wildlife in Low Light
A practical guide to shooting safari wildlife at dawn, dusk and on night drives — the exposure triangle in low light, the gear that helps, focusing and panning technique, controlling noise and creative use of backlight and silhouettes.
The best wildlife photography happens when the light is at its worst for cameras. Predators hunt at dawn and dusk, animals move in the cool hours around sunrise and sunset, and the richest, warmest light of the day lasts only minutes before it fades to gloom. Learning to shoot in low light is therefore not an optional extra on safari — it is the core skill that separates flat snapshots from images with atmosphere. Low light punishes lazy technique. Too slow a shutter and your leopard is a smear; too high an ISO handled badly and the frame dissolves into mush; the wrong exposure and a glorious backlit elephant becomes a grey blob. But the same conditions that cause these problems also produce the most evocative photographs of all — golden rim-light, dramatic silhouettes, the soft blue glow after sunset. This guide walks through the settings, gear and techniques that let you keep shooting as the light drops, and shows how to turn dim conditions from an enemy into your greatest creative ally.
Key things to know
- The best wildlife activity and the best light both occur in the low-light hours around dawn and dusk.
- In low light you must balance the exposure triangle deliberately: raise ISO, open the aperture, and protect shutter speed.
- A fast lens with a wide maximum aperture is the single most useful piece of low-light safari gear.
- A beanbag steadies long lenses on a vehicle far better than a tripod, which is impractical inside a car.
- Modern cameras handle high ISO well; a little noise is almost always better than a blurred or missed shot.
- Shoot RAW and expose carefully so you can recover shadows and reduce noise in editing.
- Continuous autofocus, back-button focus and panning help you keep moving animals sharp.
- Embrace backlight, silhouettes and the blue hour rather than fighting the failing light.
Why low light rules safari photography
Safari days are built around the edges of daylight for good reason. In the cool of early morning and late afternoon, predators are active, animals come to water, and behaviour that vanishes in the midday heat plays out in front of you. These are the hours when a drive delivers its best sightings — and, inconveniently, the hours when there is the least light to photograph them.
The compensation is that this same light is beautiful. The low sun of the golden hour wraps animals in warm, directional light and long shadows, while the blue hour after sunset bathes the landscape in soft, cool tones. If you only shoot when the light is bright and easy, you miss both the best animal behaviour and the most atmospheric conditions. Mastering low light lets you work through the whole of the magic hours.
- Predators and wildlife are most active at dawn and dusk
- The golden hour gives warm, directional light and long shadows
- The blue hour after sunset offers soft, cool tones
- Midday light is harsh and flattens most wildlife images
- The best sightings and the least light arrive together
The exposure triangle in low light
Every low-light image is a negotiation between three settings. Shutter speed must stay fast enough to freeze your subject — a rough starting point is one over the focal length for a static animal, but a walking or running subject needs much more, often 1/1000s or faster. Aperture should usually be as wide as your lens allows to gather light, accepting the shallower depth of field that comes with it. Whatever those two cannot provide, ISO must make up.
The practical trick is to prioritise: decide the slowest shutter speed you can risk for the subject's movement, open the aperture, and let ISO float to whatever is needed for a correct exposure. Auto ISO with a minimum shutter speed set is an excellent tool for exactly this, letting the camera raise sensitivity automatically while you protect sharpness. Resist the urge to keep ISO artificially low; a slightly noisy sharp frame always beats a clean blurred one.
- Keep shutter speed fast enough to freeze the subject's motion
- Open the aperture wide to gather as much light as possible
- Let ISO rise to complete a correct exposure
- Use Auto ISO with a minimum shutter speed to protect sharpness
- Prioritise a sharp noisy frame over a clean blurred one
Gear that helps in the dark
The most valuable low-light investment is a fast lens — one with a wide maximum aperture such as f/2.8 or f/4. It gathers far more light than a slow zoom, letting you keep ISO and shutter speed sensible when the sun is down. Modern camera bodies with strong high-ISO performance and in-body or lens stabilisation extend your reach further, letting you shoot at slower shutter speeds for static subjects without blur.
Support matters just as much as glass. A tripod is useless inside a safari vehicle, but a beanbag draped over the window ledge or roof hatch cradles a long lens beautifully and kills camera shake. Bring spare batteries, as cold mornings drain them faster, and keep a cloth handy for dew and dust. None of this replaces technique, but the right kit widens the range of conditions in which good images are possible.
- A fast lens with a wide maximum aperture is the top priority
- Strong high-ISO performance extends usable shooting time
- Image stabilisation helps with static subjects at slow speeds
- A beanbag steadies long lenses far better than a tripod in a vehicle
- Carry spare batteries, which drain faster in the cold
Focusing and freezing movement
Low light makes autofocus work harder, so give it the best chance. Use continuous autofocus so the camera tracks moving animals, and consider back-button focus, which separates focusing from the shutter and lets you lock or track as needed. Aim the active focus point at the eye whenever you can; a sharp eye carries an image even when the rest is soft.
For moving subjects there are two paths. Freeze the action with a fast shutter speed and accept a higher ISO, or deliberately slow down and pan with the animal, keeping it sharp against a blurred background to convey motion. Panning takes practice — track smoothly, follow through after the shutter fires — but it can produce striking images in light too dim to freeze the action cleanly. Burst mode raises your odds of one perfectly sharp frame in a sequence.
- Use continuous autofocus to track moving animals
- Back-button focus separates focusing from the shutter release
- Place the focus point on the eye for the sharpest result
- Freeze fast action with a high shutter speed and higher ISO
- Or pan with the subject for creative motion blur
Managing noise and nailing exposure
High ISO brings noise, but it is far more manageable than most beginners fear. Always shoot RAW, which preserves the data you need to reduce noise and lift shadows in editing without wrecking the image. Where possible, expose to the right — nudging the exposure as bright as you can without blowing highlights — because a well-exposed high-ISO file is much cleaner than an underexposed one pushed later.
Modern noise-reduction software, including AI-based tools, is remarkably effective, so do not be afraid of the ISO values your camera needs. The goal is a sharp, correctly exposed frame; noise can be tamed afterwards, but blur and lost detail cannot be added back. Check your histogram rather than trusting the bright rear screen, which is misleading in dim conditions, and adjust exposure compensation as the light changes.
- Shoot RAW to retain latitude for noise reduction and shadow recovery
- Expose to the right to keep high-ISO files clean
- Trust the histogram, not the rear screen, in dim light
- Use modern noise-reduction software to clean up high ISO
- Prioritise sharpness and exposure; fix noise in editing
Creative low-light techniques
Rather than fighting the failing light, use it. When a subject stands against a bright sky at dawn or dusk, expose for the sky and let the animal fall into silhouette — an acacia-framed giraffe or a lion on a rise makes a powerful, graphic image. Backlight, with the sun low behind your subject, can rim animals in gold and light up dust or breath, turning an ordinary sighting into something magical.
The blue hour after sunset and before sunrise rewards patience with soft, moody tones few people bother to capture. On night drives, work with the guide's spotlight — never shine it directly into an animal's eyes — and push ISO high to catch nocturnal life. Each of these approaches turns a lack of light into the whole point of the picture, which is where low-light photography becomes an art rather than a struggle.
- Expose for the sky to turn backlit animals into silhouettes
- Use low backlight to rim subjects in gold and light up dust
- Shoot the blue hour for soft, moody tones
- On night drives use the guide's spotlight respectfully, never in the eyes
- Let the scarcity of light become the subject of the image
References & further reading
- Sinclair, A. R. E., et al. (Eds.) (2015). Serengeti IV. Chicago: University of Chicago Press.
- Estes, R. D. (2012). The Behavior Guide to African Mammals. Berkeley: University of California Press.
- Kingdon, J. (2015). The Kingdon Field Guide to African Mammals (2nd ed.). London: Bloomsbury.
- IUCN (2024). The IUCN Red List of Threatened Species, Version 2024-1. www.iucnredlist.org.
Do it with SafariLingo
Take SafariLingo on safari: 300+ species, real animal calls, offline maps and sighting logs — all in your language, wherever you roam.
Get the appFrequently asked questions
What ISO is too high for wildlife photography?
There is no fixed limit — it depends on your camera and how the image will be used. Modern bodies produce very usable files at high ISO, and noise-reduction software handles the rest. The real answer is to use whatever ISO gives you a sharp, correctly exposed frame; a noisy sharp shot always beats a clean blurred one.
What shutter speed do I need in low light?
It depends on the subject. For a static animal, roughly one over the focal length is a starting point, slower if you have stabilisation. For walking animals you want faster, and for running or flying subjects often 1/1000s or more. Set the slowest speed that freezes the motion, then let ISO rise to expose correctly.
Can I use a tripod on safari?
Rarely inside a vehicle, where there is no room and you cannot brace it against the floor. A beanbag draped over the window or roof hatch is far more practical and steadies a long lens beautifully. Tripods and monopods are useful on foot in walking-permitted areas or at camp, but the beanbag is the vehicle workhorse.
How do I photograph animals at sunset without them going black?
You have two choices. To keep detail in the animal, expose for the animal and let the bright sky wash out, or use fill flash sparingly if allowed. To create a deliberate silhouette, expose for the sky and let the animal go dark — often the more striking result. Shooting RAW gives you room to balance the two in editing.
Is flash allowed for wildlife on safari?
Policies vary and many reserves and guides discourage or forbid it, especially at night, because it can distress animals. Always follow your guide's and the reserve's rules. In most cases you are better served by a fast lens and high ISO than by flash, which produces harsh, unnatural light and can disturb the very behaviour you are trying to capture.
Related guides
 Wildlife
 Wildlife Composition Tips for Safari Photography
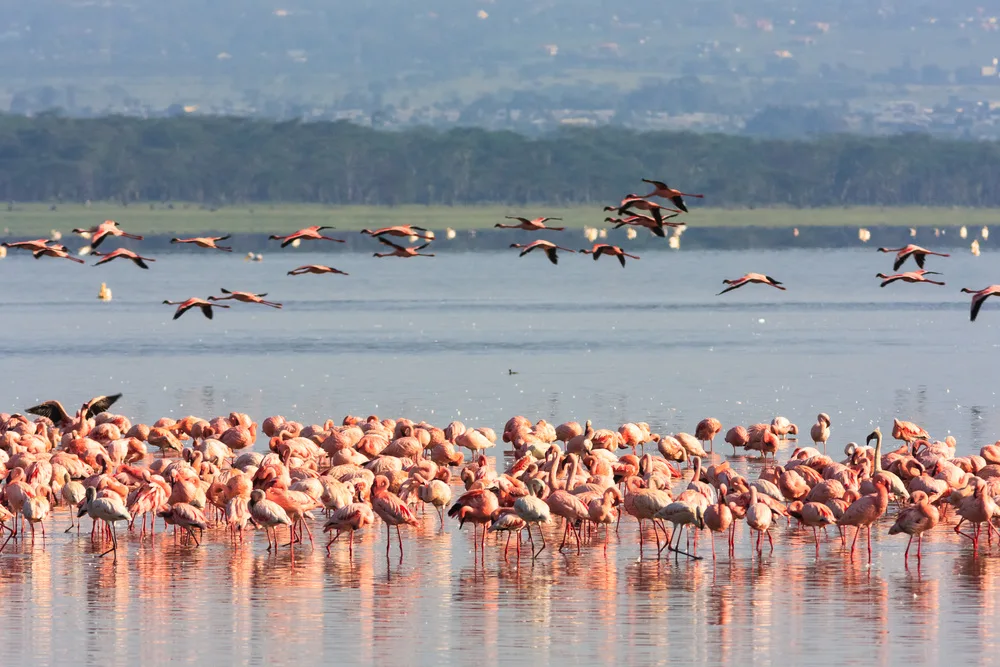
Practical composition tips for safari wildlife photography: eye contact, giving space, the rule of thirds, clean backgrounds, environmental portraits, capturing behaviour and action, and using negative space.
 Wildlife
 How to Photograph the Great Migration
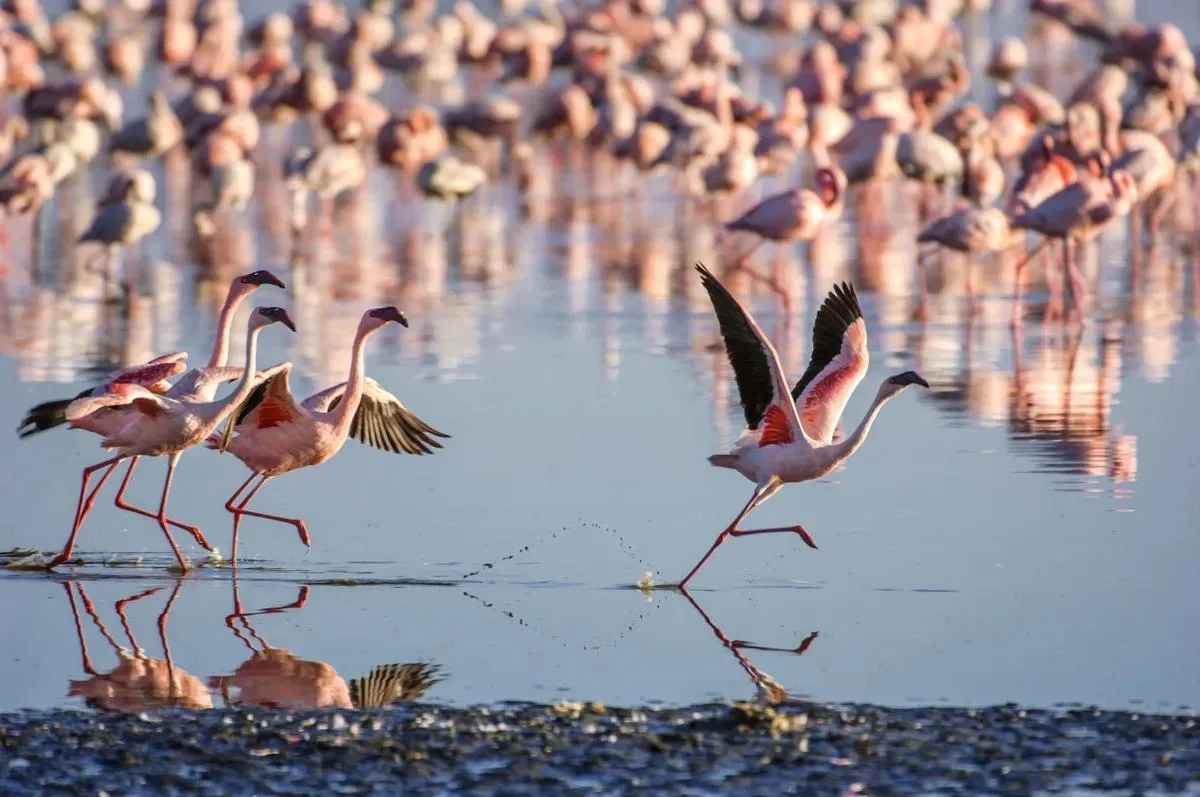
A field guide to photographing the Great Migration: capturing crossing chaos, dust and action, choosing wide versus tight framing, telling the story, the ethics of positioning, protecting your gear and the patience it demands.
 Wildlife
 Common Safari Photography Mistakes to Avoid
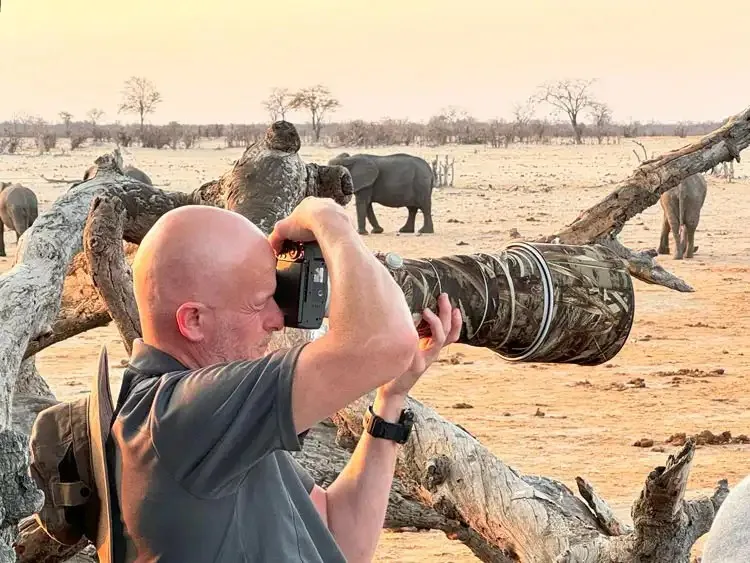
The pitfalls that ruin safari photos and how to fix them: shutter speed, cluttered backgrounds, over-zooming, chasing the trophy shot, chimping, and running out of card and battery.