
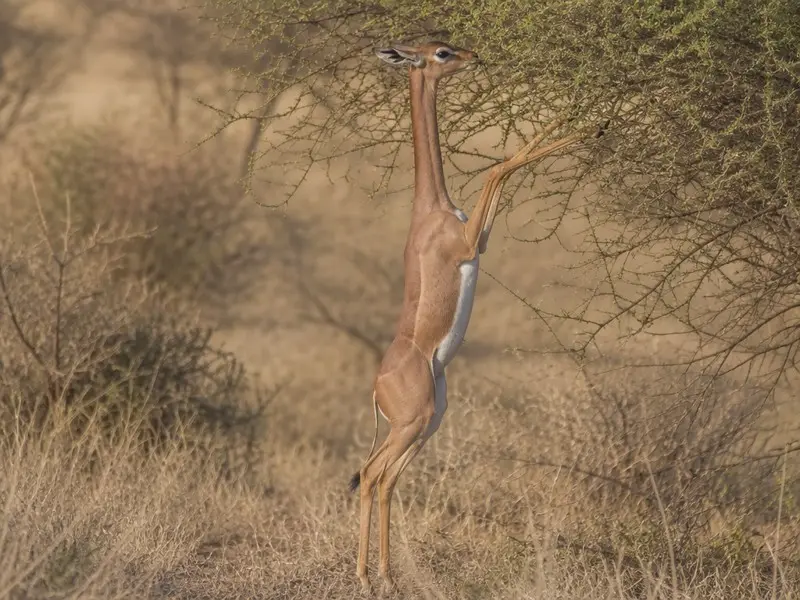
How to Photograph the Gerenuk on Safari
Wildlife photography tips for the Gerenuk: the best light, angles, timing and camera settings to capture strong, natural images of this species on an African safari.
Photographing the Gerenuk rewards preparation, patience and a feel for the animal's behaviour far more than expensive gear. The aim is not simply to prove you saw it, but to capture how it moves, where it lives and the character in its eyes. This guide covers the light, timing, angles and settings that turn a record shot of the Gerenuk into a photograph worth printing.
| Scientific name | Litocranius walleri |
|---|---|
| Conservation status | Near Threatened |
| Category | Mammals |
| Habitat | Arid and semi-arid thornbush, scrub and low acacia woodland |
Getting the shot
Every species asks for a slightly different approach, and for the Gerenuk the essentials are these: Wait patiently for the upright browsing moment — its most iconic image; side light emphasises the slender neck line. Beyond the technical advice, move slowly and predictably so you do not alarm it, and let the animal settle before you start shooting. The calmer your subject, the more natural the behaviour you will capture.
Light, timing and behaviour
The Gerenuk is most active Diurnal, feeding in the cool of morning and evening and resting in shade at midday, which conveniently overlaps with the soft, low, golden light that flatters wildlife. Shoot with the sun low and behind or to the side of you for warm tones, long shadows and a catchlight in the eye. Rather than chasing the animal from frame to frame, read its behaviour, anticipate the next move and be ready when the moment comes.
- Shoot at eye level whenever terrain and safety allow — dropping low turns a flat snapshot into an intimate portrait.
- Work the golden hours after dawn and before dusk for warm colour, soft contrast and long, sculpting shadows.
- Keep shutter speed high enough to freeze sudden movement — 1/1000s or faster for a running or flying subject.
- Expose for the eyes and keep them sharp; a wildlife image lives or dies on the sharpness of the nearest eye.
- Leave some habitat in the frame to tell the story of where the Gerenuk lives, and use a wide aperture to lift it off a busy background.
- Steady long lenses on a beanbag over the vehicle door, cut the engine, and shoot short bursts rather than single frames.
Composition and the eye
A strong photograph of the Gerenuk lives or dies on the eye. Focus there, keep it sharp, and make sure there is a catchlight — that tiny reflection of the sky that brings an animal to life. Everything else is secondary.
Drop to eye level whenever terrain and safety allow; shooting down turns a portrait into a snapshot, while a low angle pulls the viewer into the animal's world. Leave a little habitat in the frame to tell the story of where the Gerenuk lives, and use a wide aperture to lift it cleanly off a busy background. Give the animal room to look or move into, rather than pinning it against the edge of the frame.
- Focus on the near eye and keep it pin-sharp
- Shoot at eye level for intimacy; avoid looking down on the subject
- Leave space for the animal to look or move into
- Include habitat to tell the story, but blur it with a wide aperture
Settings and light for the Gerenuk
The Gerenuk is most active Diurnal, feeding in the cool of morning and evening and resting in shade at midday, which happily overlaps with the soft, low, golden light that flatters all wildlife. Shoot with the sun low and behind or to the side of you for warm tone, gentle contrast and long, sculpting shadows; save the harsh midday hours for scouting and rest.
As a starting point, work in aperture priority around f/5.6–f/8 with auto-ISO capped, then switch to a fast shutter of 1/1000s or quicker the instant there is action. Use continuous autofocus with back-button control to track movement, and shoot short bursts to catch the peak of a moment rather than firing continuously and hoping.
Fieldcraft and ethics
Great wildlife images come from behaviour, and behaviour only appears when the animal is relaxed. Move slowly and predictably, keep your voice down, and let the Gerenuk settle before you lift the camera. A calm subject shows you natural feeding, interaction and movement; a stressed one simply leaves.
Never ask a driver to block an animal's path, crowd a sighting or push closer than the animal is comfortable with. The welfare of the Gerenuk always outranks the photograph. Steady a long lens on a beanbag over the vehicle door, cut the engine, and be patient — the best frame is almost always the one you waited for, not the one you chased.
References & further reading
- Parkinson, T. (2016). Photograph the Wildlife of East Africa. Ammonite Press.
- Kingdon, J. (2015). The Kingdon Field Guide to African Mammals (2nd ed.). London: Bloomsbury.
- Estes, R. D. (2012). The Behavior Guide to African Mammals. Berkeley: University of California Press.
Do it with SafariLingo
Identify the Gerenuk instantly in the field — SafariLingo plays its call, shows full facts and works completely offline, even with no signal.
Get the appFrequently asked questions
What is the best time of day to photograph the Gerenuk?
Aim for the first and last two hours of daylight. The Gerenuk is most active Diurnal, feeding in the cool of morning and evening and resting in shade at midday, and the low sun delivers warm, directional light with none of the harsh midday glare. Midday is better spent scouting, reviewing images and resting for the next session.
What camera settings work best for the Gerenuk?
Start in aperture priority around f/5.6–f/8 with auto-ISO capped, then switch to a fast shutter of 1/1000s or quicker the moment there is action. Use continuous autofocus and back-button focus to track movement, and shoot short bursts to catch the peak of behaviour. Always keep the eye as your focus point.
What lens do I need to photograph the Gerenuk?
A telephoto in the 100–400mm or 150–600mm range covers most safari situations and lets you fill the frame without crowding the animal. Pair it with a shorter zoom for habitat and scene-setting shots. A beanbag steadies the long lens far more reliably than a tripod inside a vehicle.
Related guides
 Wildlife
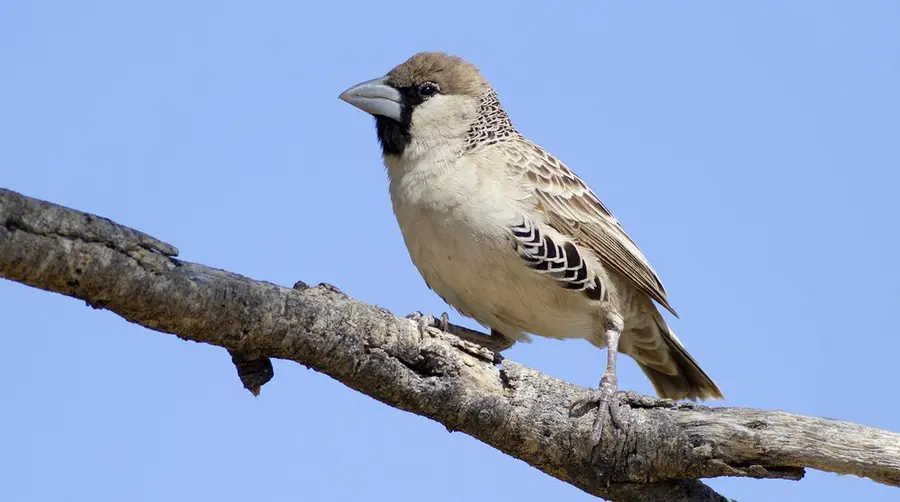
 How to Spot the Sociable Weaver on an African Safari
A field guide to finding the Sociable Weaver (Philetairus socius) on safari: the habitats it favours, the hours it is most active, the field marks that give it away, and the tracking craft experienced guides use to locate it.
 Wildlife
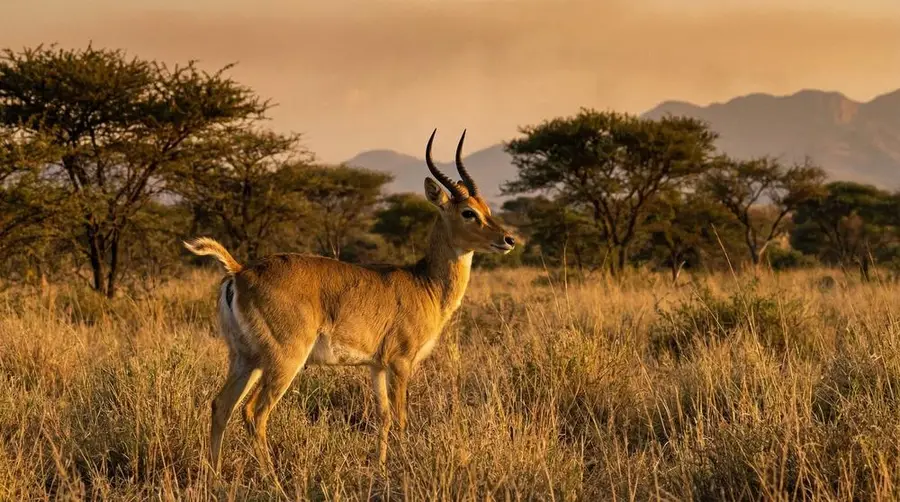
 How to Spot the Southern Reedbuck on an African Safari
A field guide to finding the Southern Reedbuck (Redunca arundinum) on safari: the habitats it favours, the hours it is most active, the field marks that give it away, and the tracking craft experienced guides use to locate it.
 Wildlife
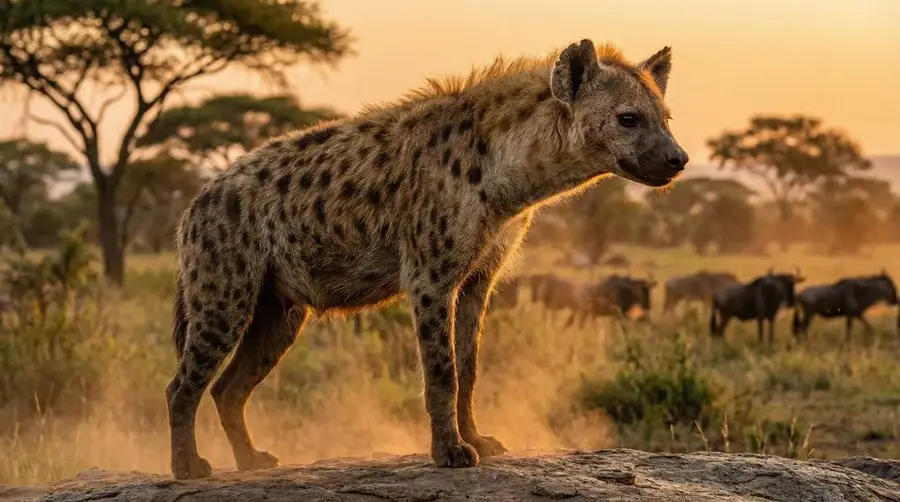
 How to Spot the Spotted Hyena on an African Safari
A field guide to finding the Spotted Hyena (Crocuta crocuta) on safari: the habitats it favours, the hours it is most active, the field marks that give it away, and the tracking craft experienced guides use to locate it.